
Andrew Mangwarara
THE rainy season is upon us and this is the best time to establish an orchard in your garden.
Fruit is one of the best things for your health and with the rising cost of living, growing a few of your own favourite varieties is the way to go.
However, several key steps are required to make an orchard a success.
You will need to plan carefully by choosing the ideal site and layout, followed by proper land preparation, topography management and planting.
The first step is selecting the right fruit trees for your area, which is determined by your site, soil, climate and water availability.
Because orchard crops have very deep roots, they require deep soils. Test your soil depth by randomly digging two-metre-deep holes around the proposed site to check for any impervious layers beneath.
Pour water into the holes; if it does not drain away overnight, you should choose another site.
Next, collect soil samples from a depth of 30 to 45 centimetres and send them for analysis. Testing nutrient levels will guide your fertilising regime and reveal whether nematodes are present in the soil.
Repeatedly planting the same crop in the same area causes a build-up of nematodes, which can severely affect subsequent crops unless a four-year rotation is followed.
While you can plant an orchard on most slopes except the steepest ones, gently sloping or flat areas are best. Planting on high, exposed slopes leaves your trees vulnerable to frost damage and makes spraying and harvesting much more difficult.
Climate is the underlying factor for success in fruit growing.
In areas with excessively high wind speeds, heavy winds can cause flowers and fruit to drop prematurely. To prevent this, plant tall trees to act as windbreaks, ideally two to three years before establishing your orchard.
It is also wise to talk to your neighbours to find out which fruit varieties thrive locally.
Ensure your orchard is located near a reliable water source. You can water your garden using furrows, sprinklers, drip lines, basins filled with buckets or flooding.
Drip lines offer the added benefit of allowing you to fertigate your trees, whereas sprinklers have the disadvantage of increasing the risk of fungal diseases.
If you have no choice, but to use a poorly draining site, consider digging drainage trenches and laying pipes to channel excess water away.
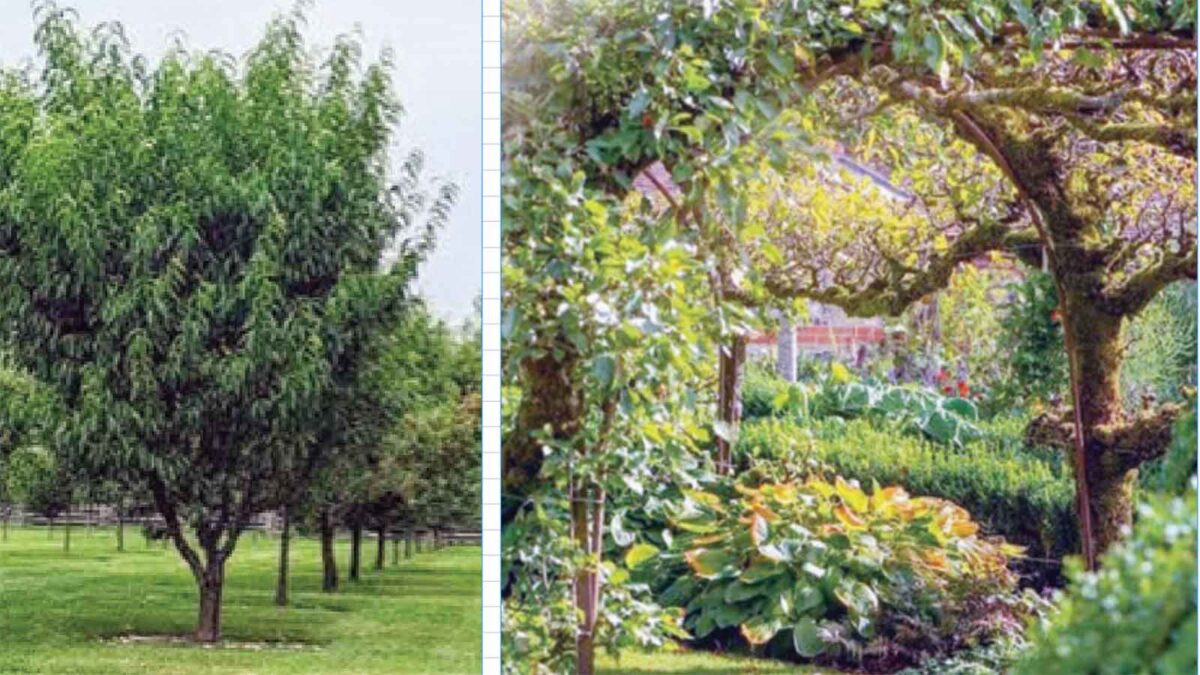
Once the site is chosen, decide on your orchard layout, such as square, quincunx or hedgerow.
The difference between a square and a quincunx layout is that the quincunx includes an additional temporary tree planted in the centre of the square, which can be removed once the crowns of the permanent trees begin to touch.
In a hedgerow layout, trees are planted very close together in rows to create a hedge effect.
Thorough land preparation is vital for healthy tree growth. This involves removing all weeds, levelling the ground and ring-barking any existing trees you plan to clear.
Ring-barking is essential in African soils due to the presence of the armillaria mellea fungus.
Stripping the bark all the way around the trunk depletes the carbohydrates in the roots, starving and killing the fungus.
This must be done a year before removing the old trees; otherwise, the fungus will survive in the leftover roots and infect your new fruit trees, killing them outright before you realise what is happening.
Keep a weed-and grass-free circle at least one to two metres in diameter around the base of each tree.
In the spaces between the trees, you can maintain a lawn or even grow vegetables, which helps keep the orchard well-watered and fertile.
If your site has a slope of 10 to 15 percent or more, build terraces to prevent soil erosion.
You should also consider fencing your orchard if your property is unsecured or in a rural area; besides providing security, a fence can double as a trellis for granadillas or grapes.
When you are ready to plant, dig holes 60 centimetres to one-metre-deep for each tree.
Mix organic matter or compost into both the topsoil and subsoil, along with superphosphate and a compound fertiliser such as Compound D or X.
Refill the holes and allow the soil to settle for a few weeks before planting.
Finally, remove each young tree from its pot or sleeve and place it in the hole, ensuring the soil sits at the exact same level on the stem as it did in the nursery container.
With careful preparation, you can enjoy creating an orchard that you will treasure for years to come.
If you would like to be featured in our green-up campaign, contact us on: [email protected] or [email protected]